
Essential Winter Parts and Upgrades For Your Mountain Bike
Let’s be honest, apart from lubing the chain and pumping up the tyres most of us don’t give our bikes maintenance much of a thought until something noticeable starts happening. Chances are your bike will have taken on wear over the summer months, dirt, dust and water contamination will have taken its toll on parts. As the summer months have ended it's important to ensure your bike is prepared and will run faultlessly throughout the winter months. It's also the perfect time to consider some upgrades, which will make you more confident on your winter adventures.
We’ve compiled a list of the essential parts and upgrades that we think will make the biggest difference to your experience on your mountain bike this winter.
MOUNTAIN BIKE TYRES
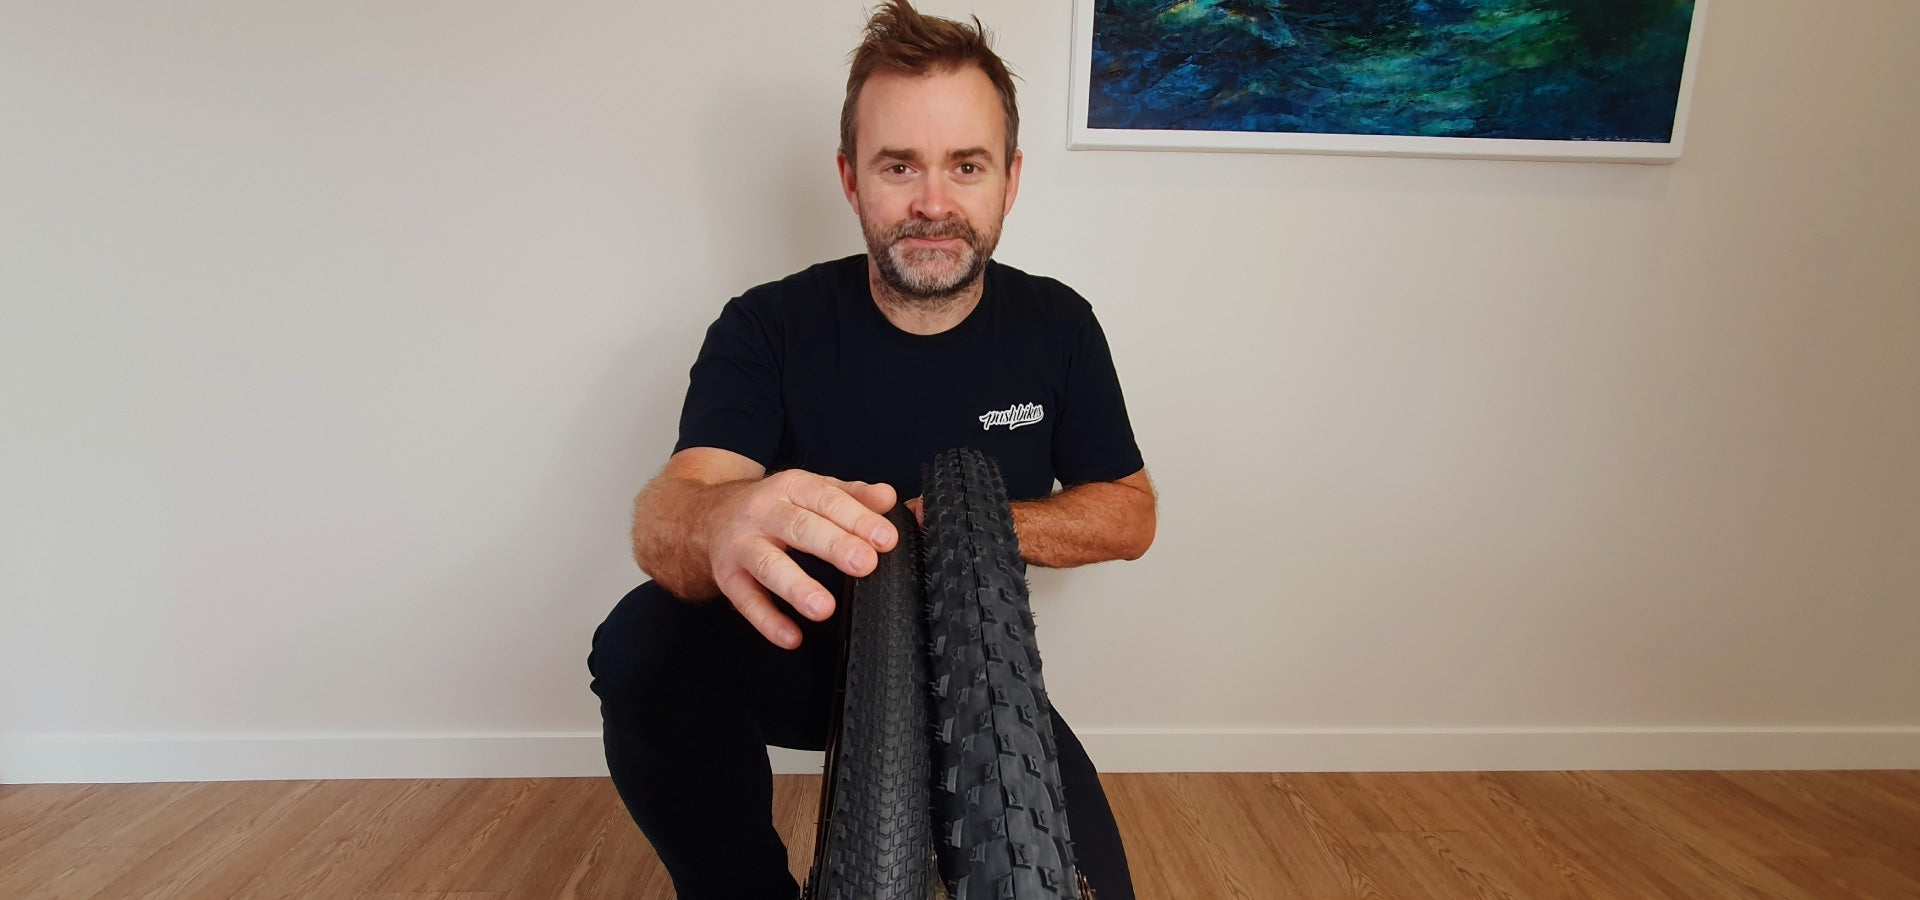
It can never be overstated how much mountain bike tyres can improve both control and comfort, now that the trail conditions are changing your needs for a tyre will too.
A specific wet weather tyre will have more aggressive tread, slightly higher knobs, which are spaced further apart. The higher knobs allow the tyre to gain more traction in the mud, whilst the wider spacing between the tread helps the tyre to shed mud. The tyre compound will often be much softer, which increases grip on wet and greasy surfaces like roots and rocks.
There’s always a compromise between rolling speed and grip, so you’ll need to find the right rubber for your riding style, the terrain and the ground conditions you’re likely to ride in. It may not be the case that you’ll need a specific mud tyre, maybe just something more intermediate to handle a broader range of conditions.
I have personally changed my hardtail/bikepacking MTB from Vittoria Mezcal to Barzo for the winter, the Barzo is still a fast rolling tyre but has wider spaced more aggressive tread, however it's certainly in no means a mud tyre.
My enduro bike has had a fresh set of rubber fitted as the sharp edges of the knobs are pretty worn from the summer. My favourite combination is the Maxxis Assegai up front and DHR II on the rear. Some other great options are both the Vittora Mota or Mazza.
There are plenty more options out there, but these are our favourite options to handle a bit of mud while suiting a broader range of conditions.


TUBELESS SEALANT

If you're riding tubeless tyres, at minimum, you should check and or replace the sealant every 6 months. A good tubeless setup will stay inflated well beyond that timeframe, as the latex in the sealant has already sealed any small holes. However, as the sealant dries over time, the system's ability to self-repair when you run over a thorn or sharp rock is greatly reduced. Pictured above are my enduro tyres after a summers worth of riding, you'll note there is no visible sealant.
There is no need to clean and remove the old sealant, unless there are clumps that you can pick out. We’d recommend un-beading a section of the tyre to check the sealant, virus trying to extract this through the valve. This way you can visually see the sealants condition, and it avoids contaminating the valve. Sealant can be purchased in single use, or larger quantities to keep on hand. You'll need to ensure there is between 60ml and 120ml of sealant in a mountain bike tyre.
If you’re not already riding a tubeless setup, we’d highly recommend this. Tubeless tyres allow you to run a lower pressure without compromising on the rolling resistance. This allows better traction, control and also puncture protection.
Here’s what you need for checking your sealant.


BRAKE PADS

Part of any bike check should involve checking the condition of the brakes, and especially the pads. Throughout regular use, the pads on your bike will wear, and not knowing the condition of these could mean running out of brakes halfway through an adventure. Especially important heading in the winter months. As a very general rule, disc brake pads should be replaced once the braking material is 1.5mm or less in thickness. Don’t forget about your disc brake rotors either, typically these will last through two or more sets of brake pads. Each manufacturer has different wear indicators for rotors, but again as a rule of thumb anything less than 1.5mm would need to be replaced.
There is a difference in disc brake pads compounds, organic pads offer sharper initial braking at low temperatures, bed-in quickly and are quieter. Sintered or metal pads are longer lasting, offer strong stopping power under extreme braking, are more consistent in wet and dirty conditions and can handle higher temperatures. Semi-metallic brake pads are more durable and have better wet-weather performance than organic, offer more predictable power than sintered pads and don’t take as long to warm up as sintered. The favourite pick would certainly be to run a semi-metallic pad during winter, as it offers more durability than organic while offering good brake bite at lower temperatures.
It is also a good option to consider a brake bleed if you're replacing your brake pads, we’d recommend this to be performed once a year. By flushing the brake fluid out you’ll clear any air bubbles that have made there way into the system and remove the contaminated fluid.
Brakes are now more powerful than ever, if yours are a little dated then it could be a good opportunity to replace them. Both Shimano and SRAM both offer 4 piston systems that provide huge stopping power.
Here’s what you need to get started.


MUDGUARDS

If you plan on riding in bad weather, mudguards are an essential item for your bike, keeping mud out of your eyes, including dust throughout the summer months, so you have clear vision down the trail.
There are plenty of options out there, but these are our favourites.


CHAIN LUBE

There are loads of different types of chain lubes out there, and it’s easy to get confused. As a general rule, you want to use a wet lube in the wetter winter months and a dry lube in the dryer summer months. If you have been using a lube throughout the summer, chances are that that brand will offer an option for wet conditions. Let's take our best selling MTB lube, Rock n Roll Extreme as an example, they offer a longer lasting Gold formula which is designed for wetter conditions.
Lets not forget the importance of cleaning and looking after the drivechain either, having a good chain cleaner like the Muc Off Drivechain Cleaner and a chain cleaner is a must.
Here are our top picks you’ll need in your garage over winter.


SUSPENSION SERVICE

Suspension is prone to losing performance, as it relies on being clean and as free as possible. Dirt, dust and water contamination, along with oil and grease deterioration from the summer months will have definitely impacted on its performance.
Having your suspension serviced is the best way to keep its performance and have it feeling like new again, not to mention prolonging the life of the internal parts.
This also includes your dropper post too, these internally operate in much the same way and need similar maintenance.


MOUNTAIN BIKE GRIPS

Grips are one of the key touch points on your bike, providing comfort, control and vibration-damping while you ride. Give them an inspection after the summer months of riding, looking for any visible wear or damage. Often there may be no visible wear, but the grips have lost their comfort and damping ability. If it's time to replace them, there are dozens of designs available, featuring different diameters, lengths, rubber hardness, patterns and clamping options.
Here are a couple of our most popular MTB grips.


PEDAL CLEATS

Attached to the bottom of your shoes, cleats are out of your visibility and often forgotten about. Clipping in and out, walking around on them wears the material down, and as the cleats wear you’ll find their connection with the pedal becomes sloppier. You’ll also find it much easier to release your cleat from the pedal or that you might pull your foot out of the pedal accidentally, say when jumping or cornering hard.
There will be visible wear on the cleats, and especially more on one side since we favor clipping in and out using the same leg. It's often not easy to see until you line your old cleats up alongside a brand new set.
There are specific cleats for each pedal manufacturer, so be sure to get the right replacement model.


DRIVECHAIN

Inspecting your drivetrain to know its condition is a great idea. Checking your chain regularly and replacing when necessary will ensure that you get the best performance from your drivetrain and save on running costs in the long run.
Through usage, the rollers and pins in the chain wear and make the gaps between them larger, effectively making the chain longer. While it's not technically ‘stretching’’, the chain length is actually lengthening. This wears the cassette by making the scallops on the cogs deeper or larger causing the chain and cassette not to mesh correctly.
Checking the chain is simple and will take about 15 seconds of your time, using a tool such as the BBB Chain Checker which is of minimal cost. You need to insert the chain checker 2-3 times around the chain to ensure the reading is correct.
Here are some essential tools to keep up with your drivechain maintenance throughout winter.


Great information, thanks for posting