
How to fix a puncture on a tubeless tyre
Getting a puncture on your ride is certainly annoying, especially if your not prepared. Fixing a puncture on a normal tyre and tube combination will involve repairing or replacing the tube while inspecting the tyre for any damage.
But how does this work if you're running a tubeless setup?
Let's quickly explain how tubeless works. A tubeless setup has no tube. Instead, it uses a tubeless ready rim, value, tyre and approximately 60ml of sealant to form a perfect air tight seal.
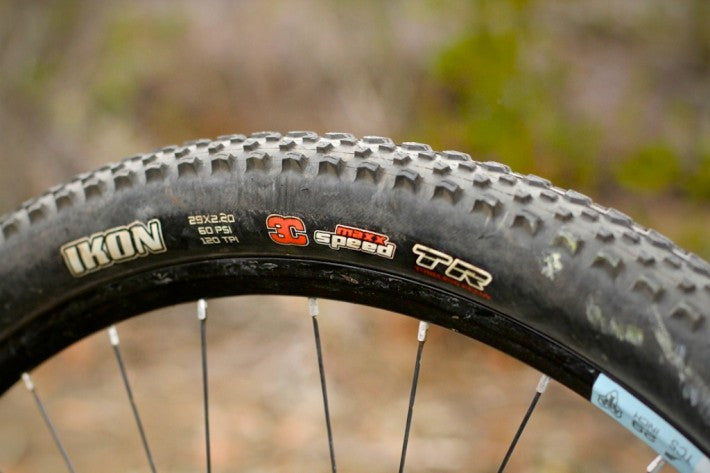
The benefits are more responsiveness and control while avoiding pinch flats in difficult terrain. You save weight by not having a tube and can run lower tyre pressures without compromising rolling resistance.
Normally the sealant would avoid a puncture in a tubeless setup, however, if you find yourself with a flat then this would normally involve. 1. Removing the tubeless valve from the rim. 2. Inspecting the tyre for damage. 3. Installing a tube into the tyre. You'd then need to either continue to use the setup with a tube or buy a new tyre if it can no longer hold air.
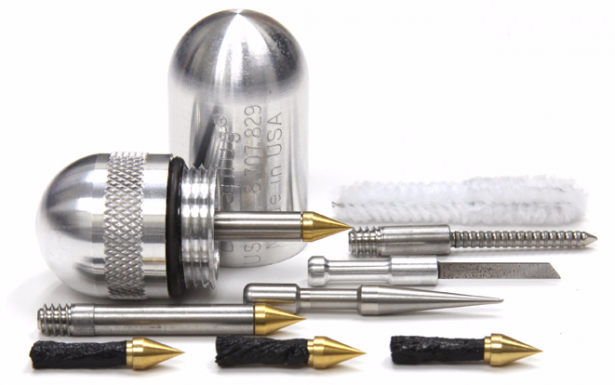
Now there is a solution with DynaPlug's new Micro Pro Tubeless Bicycle Tire Repair Tool. Using a repair plug you can mend your tyre right on the trail. Watch the video below for a full explanation.
You can view DynaPlug full range here https://www.pushbikes.co.nz/collections/vendors?q=DynaPlug


